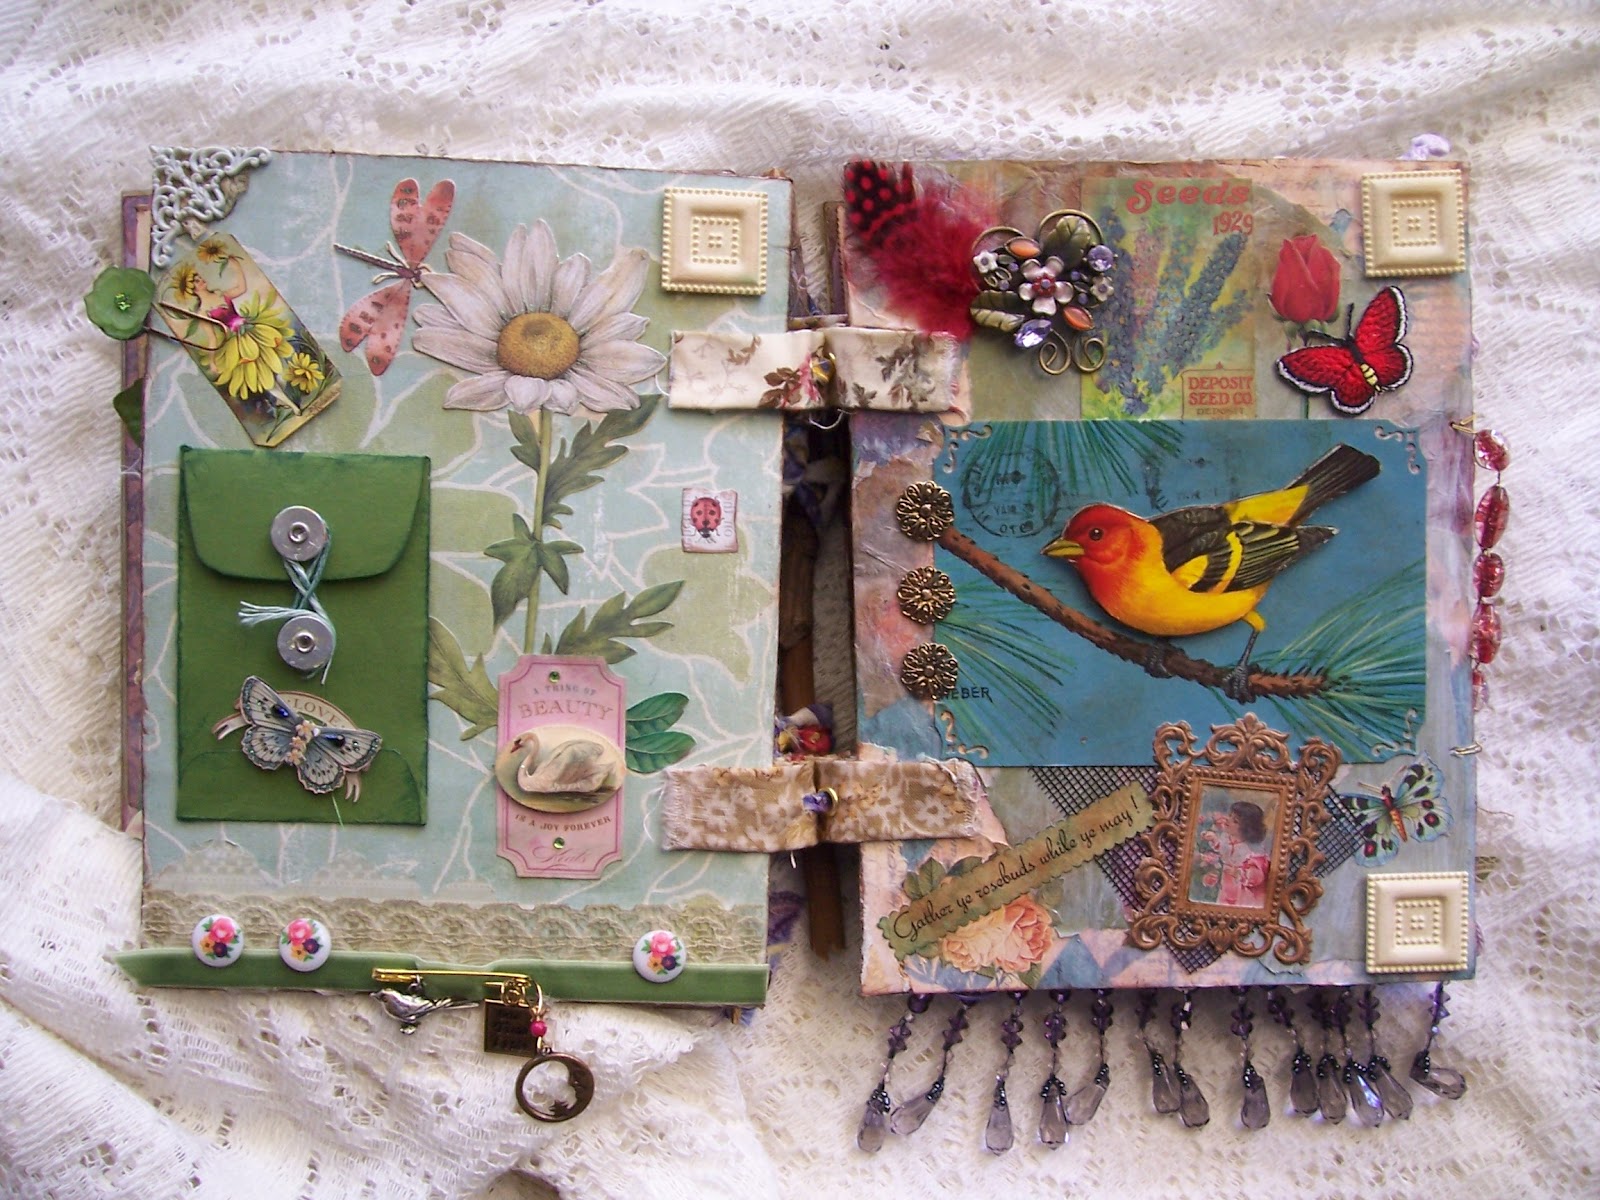
The title on this book suited my theme of birds and flowers, perfectly. The green color was a bit drab and ugly, so as I was painting watered down gesso on my scrapbook paper covered chipboard pages, I painted those covers, also. I encased some dried flowers within hard plastic packaging, using copper foil tape, brads, and a touch of glue for a part of the front cover embellishments. I had picked the flowers around my complex last year and put them between waxpaper and phonebook pages, thinking I would have a use for them, "someday" !! I recently purchased some vintage watch faces on E-bay, so, I finally got to use a couple of them within this book. There are lots of K&K Company stickers, vintage trade card featuring birds, a vintage calling card, pieces of junk jewelery, pieces of new and vintage lace,vintage postage stamps, a vintage stick pin that acutally has a worm on it, vintage postcard, vintage pickle fork, cheesecloth, feathers, a birds' nest with eggs (beads covered with alcohol inks), rhinestones, twigs from shrubs in front of my courtyard, mosaic tiles, and much more within these pages. I put these pages together with the intention of listing the book on E-bay, but, each time I page through it, it becomes more and more, MINE !! I suppose if I had not used a photo of a family member, or had not used other embellishments that had personal meaning, it might be easier to let the book go. Click on the photos for a larger view. I had tried to put descriptions of the pages next to each photo, but, Blogger does not co-operate with me. I'm sure it is all just a matter of taking time and patience to learn a few things, but, I would rather be creating than trying to figure all of this out!! AND, then when I do look at the post, the photos are all out of sync from where I had them placed when writing the post and also where they appeared in the preview. I don't know what happened when I click "publish". Oh well !!!
 |
| Pages 11 and 12 |
 |
| Pages 4 and 5 |
 |
| pages 7 and 8 |
 |
| Pages 9 and 10 |
 |
| Page 1 and 2 |
 |
| Pages 3 and 4 |
 |
| Pages 5 and 6 |


 Posts
Posts


 I put this small matchbox together while I was making the larger one for my sister. It has the same script scrapbook paper on the outside and lining the inside. As I was going through my collage assortment, I came across this tiny picture of a woman holding a bouquet of roses - perfect size for the top of the little box. I had a small piece of the antique lace left over, so folded it up, found an old leaf earring in my box of junk jewelery, removed the wire and tied brown ribbon through the hole, found a small fabric flower, then laid them all inside the box. Perfect fit and perfect elements to go with the picture. Added a small brass rose to the top and all was well with the world.


 The title on this book suited my theme of birds and flowers, perfectly. The green color was a bit drab and ugly, so as I was painting watered down gesso on my scrapbook paper covered chipboard pages, I painted those covers, also. I encased some dried flowers within hard plastic packaging, using copper foil tape, brads, and a touch of glue for a part of the front cover embellishments. I had picked the flowers around my complex last year and put them between waxpaper and phonebook pages, thinking I would have a use for them, "someday" !! I recently purchased some vintage watch faces on E-bay, so, I finally got to use a couple of them within this book. There are lots of K&K Company stickers, vintage trade card featuring birds, a vintage calling card, pieces of junk jewelery, pieces of new and vintage lace,vintage postage stamps, a vintage stick pin that acutally has a worm on it, vintage postcard, vintage pickle fork, cheesecloth, feathers, a birds' nest with eggs (beads covered with alcohol inks), rhinestones, twigs from shrubs in front of my courtyard, mosaic tiles, and much more within these pages. I put these pages together with the intention of listing the book on E-bay, but, each time I page through it, it becomes more and more, MINE !! I suppose if I had not used a photo of a family member, or had not used other embellishments that had personal meaning, it might be easier to let the book go. Click on the photos for a larger view. I had tried to put descriptions of the pages next to each photo, but, Blogger does not co-operate with me. I'm sure it is all just a matter of taking time and patience to learn a few things, but, I would rather be creating than trying to figure all of this out!! AND, then when I do look at the post, the photos are all out of sync from where I had them placed when writing the post and also where they appeared in the preview. I don't know what happened when I click "publish". Oh well !!!